Please Be Seated
Before we dive back in, I owe you a follow up on the cabinet makeover I did a while ago. My customer sent me these pics of the cabinet all refreshed and snug in it’s new home. She’s using it to display her collection of Pyrex and I couldn’t be happier to see this piece living it’s best life in her space.


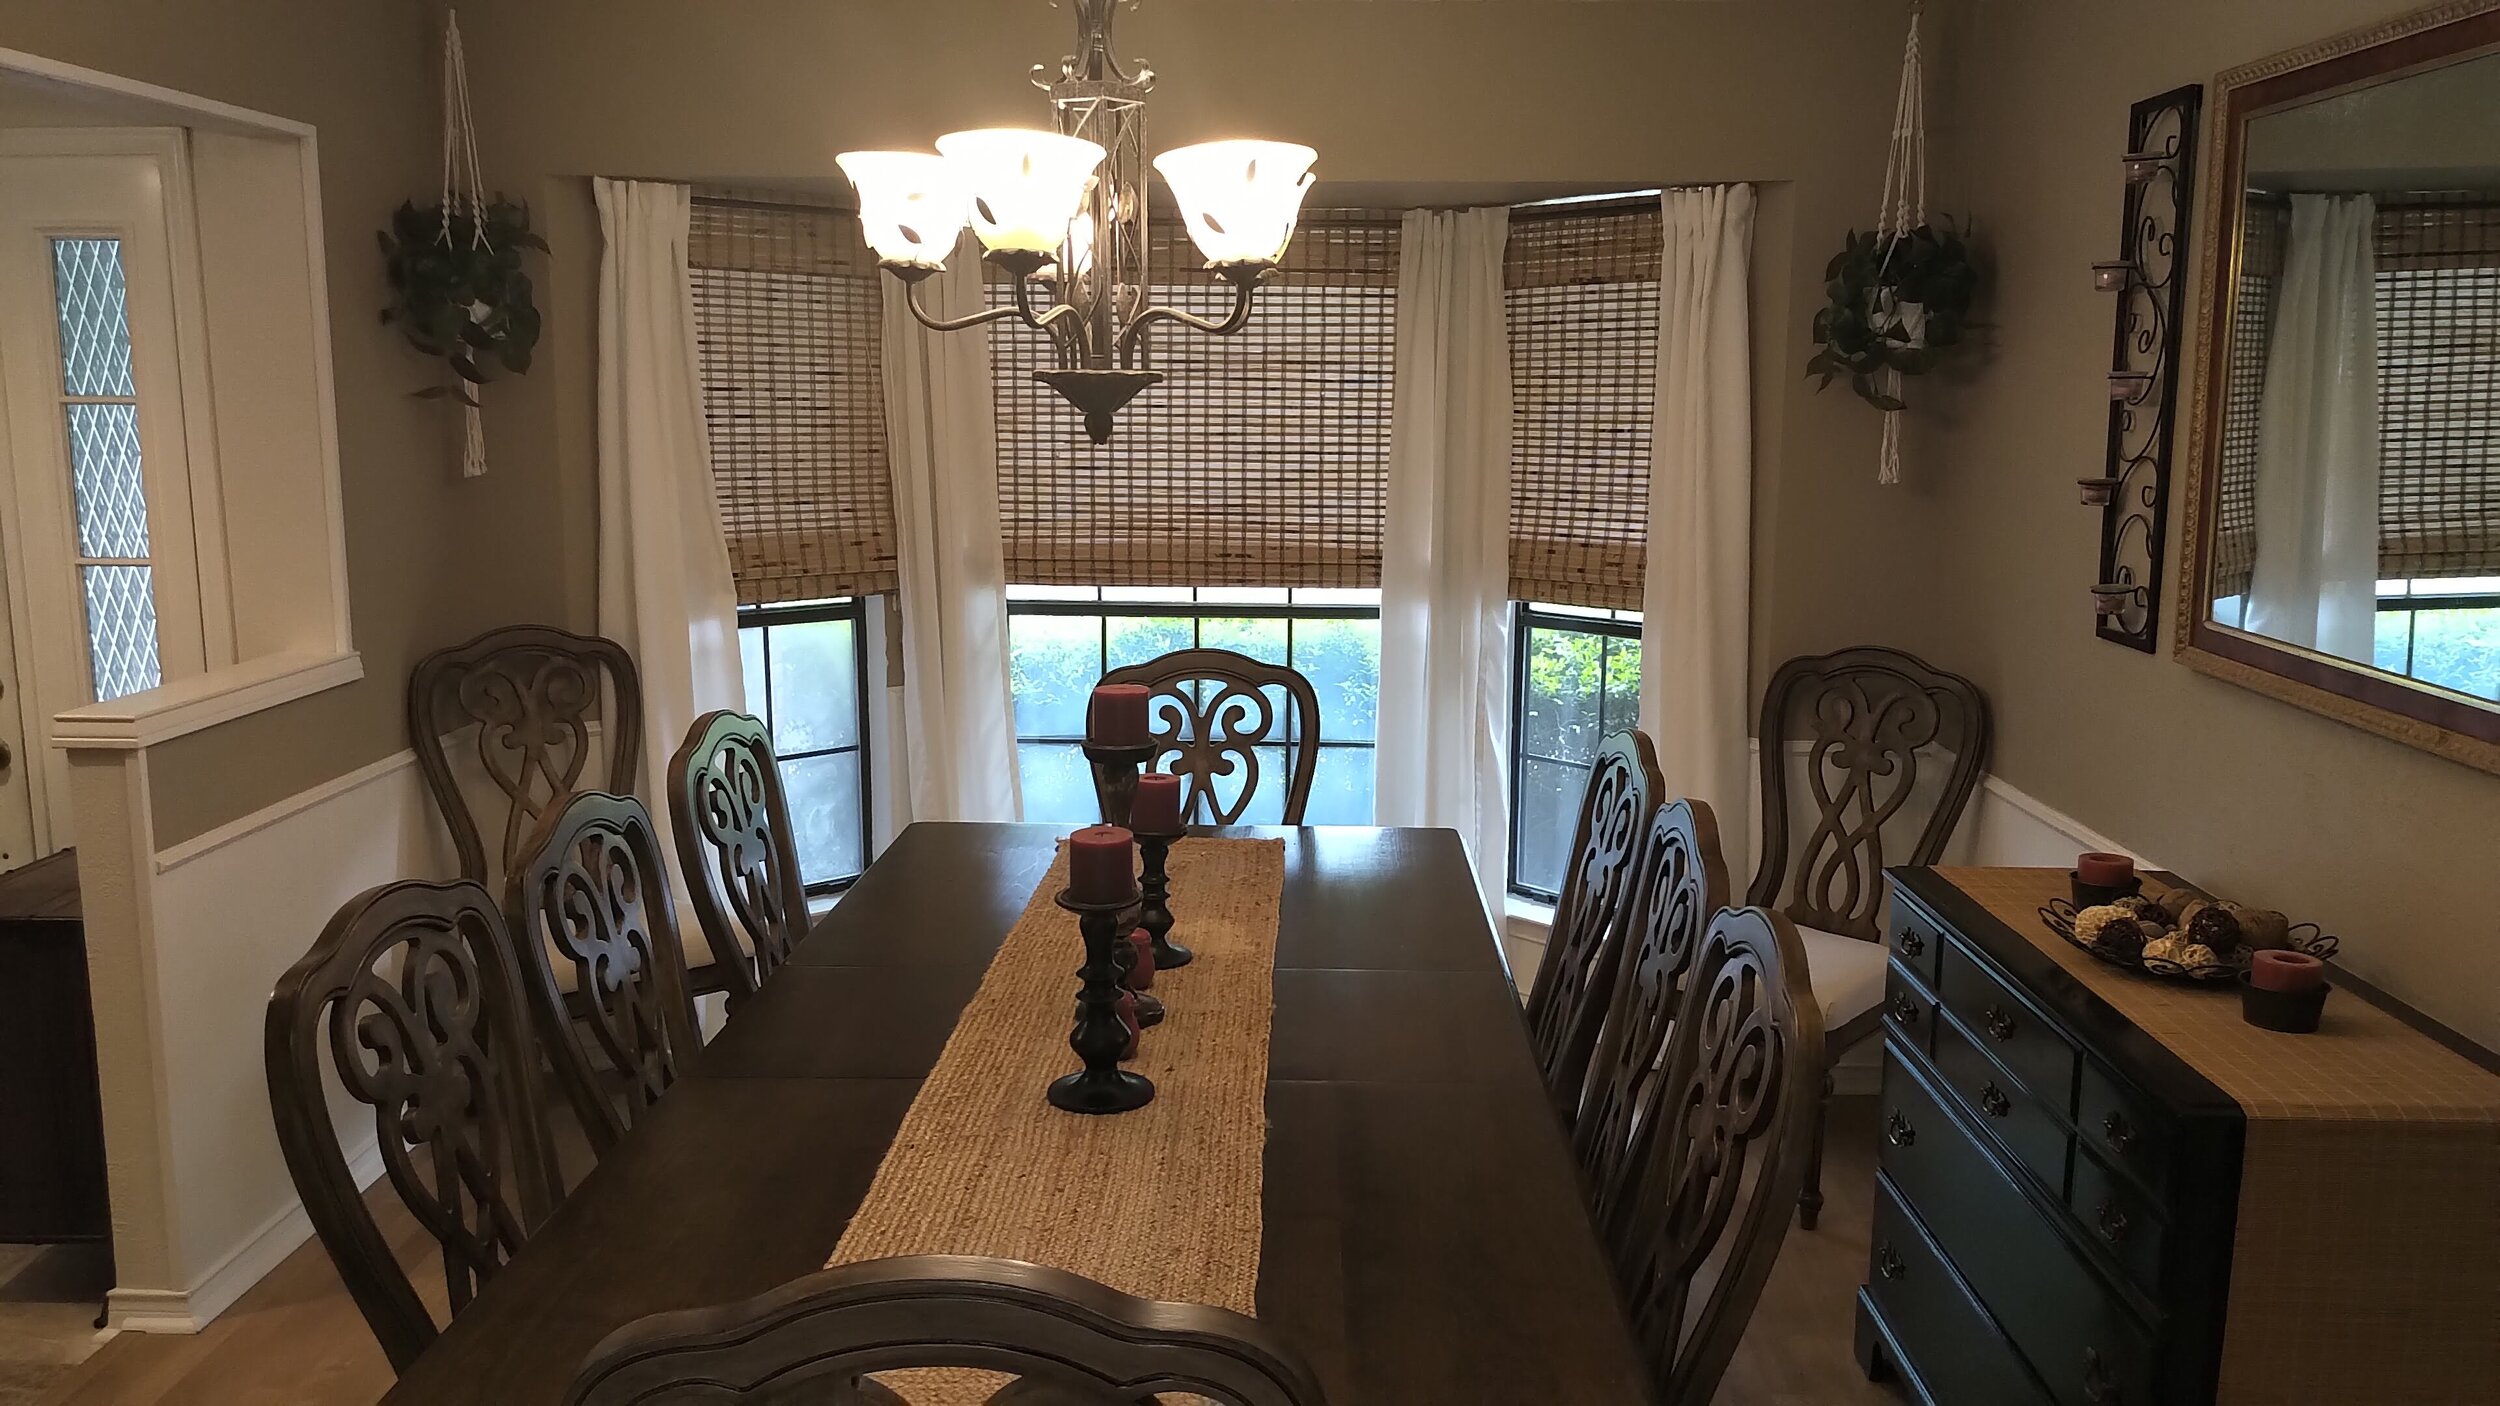
Ok, back to the dining chair saga.
During the 2010’s, the formal dining room fell out of favor as people tore out walls to create massive open spaces in their homes. It was a trend I never got too excited about. Color me crazy, but I prefer cozier, more defined spaces. Here’s the great thing about a trend you just can’t get on board with: eventually, it will go away. As it turns out, the formal dining room is making a come back. If something about my home isn’t trendy at the moment, I opt to think it’s just ahead of the curve rather than out of style.😉
However, when I started working on this dining set, I had no idea about the changing tide, I just knew I wanted to be able to seat more people around a table while I fed them. Even though I had planned to reupholster the seats from the moment they popped up on my radar, I had no idea I would need to rebuild them from scratch. Not only were half of them full of roach droppings, they were the kind that didn’t have a solid wooden base: there was a hole cut out in the middle of each base with mesh stapled in for support. I guess it was supposed to make them comfier to sit in? In any case, the foam was sinking pathetically in the middle and had to be replaced. To avoid the sinking foam situation in the future, I decided to bite the bullet and cut solid new bases for all of the chairs.
The thought was intensely intimidating to me, so I did what I always do when intimidated: dragged my feet for days and found any little excuse to stay out of the garage. When I finally worked up the courage to tackle this part of the project, I started by tracing the outline of the old seats on 1/2” plywood I had left over from previous projects, then used a jig saw to cut the new bases . . . .
. . . then used the plywood as a template to cut new foam which I attached to the wood using industrial-strength spray adhesive.
Naturally, I neglected to get a picture of the next step, which was wrapping cotton batting over the top and sides of the foam. Then came the struggle that is textile selection. Ten samples of fabric and a combined four trips to Hobby Lobby and Joann’s later, I chose an off-white linen blend upholstery fabric. I was dismayed to discover that the green foam showed through the fabric I had fallen in love with. Fortunately, I had fabric left over from some sheets I had used to make a template for the slip-covered chairs in the living room and was able to use that to line the foam. Again, naturally, I didn’t take any pictures of that part of the process. But the end result is pretty!

Mocha made herself useful by doing quality control at each stage of the process.


To keep myself from being bored to tears during the upholstery stage, I had the Netflix series “You” playing in the background. I rarely engage in physical labor without something to entertain my mind and whatever I was listening to at the time frequently comes back to mind whenever I see one of my projects. From here on out, I will have a continual association with this set and the way I felt watching “You.” Which isn’t necessarily a bad thing.
And for context:

Unfortunately, this set hasn’t gotten much use since I finished it because right as I was nearing the finish line on this project, the Covid restrictions kicked in. Womp womp.